
I’ve been experimenting with using the Power Platform CLI (pac) to manage Copilot Studio agents, specifically for creating, extracting templates, and setting up CI/CD workflows. It’s a powerful tool, but like any good developer adventure, I ran into a few “interesting” errors along the way. I want to share my journey, the errors I faced, and the workarounds I found, so you have a smoother ride!
The Goal#
The objective is simple:
- List existing agents to get their details.
- Extract a template from an existing agent.
- Create a new Copilot agent from that template using PAC CLI (directly in a Power Platform Solution).
- Publish the agent.
- Manage everything with CI/CD (Fusion Code).
Here are the steps.
Step 1: Listing Your Agents#
Before we can do anything, we need to know what we are working with. The pac copilot list command is perfect for this. It displays all the agent information in your specific environment, such as the Copilot ID, Solution ID, status, state code, and connection status.
pac copilot list --environment <EnvironmentID>
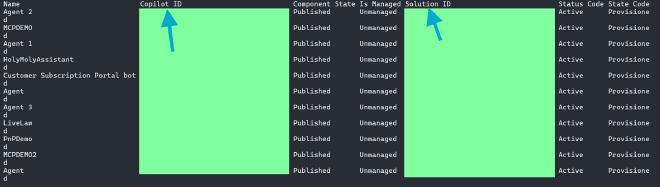
This gives us the Bot ID (or Copilot ID) we need for the next step.
Step 2: Extracting the Template#
Now that we have the Bot ID, we can extract a template. The command looks something like this:
pac copilot extract-template --bot <BotID> --templateFileName test.yaml
Note: It’s preferred to use the --templateVersion parameter here. If you omit it, you might get an info message: Argument --templateVersion is invalid. Expected type 1.0.0 and got:. Don’t worry, this doesn’t block the execution, but it’s good to be aware of!
The “Missing File” Error#
When I first ran this, I hit a snag. The CLI threw a System.IO.DirectoryNotFoundException:
Error:
bolt.Session :: Could not find a part of the path 'PAC-CLI-Copilot\Extracted\resources\starter-manifest.jsonc'

It turns out the CLI was looking for a specific resource file that wasn’t there.
The Workaround:
I had to manually locate the resources folder containing starter-manifest.jsonc and add it to the extraction folder. You might find this file in your tool installation path, for example:
C:\Users\<User>\.dotnet\tools\.store\microsoft.powerapps.cli.tool\...\resources- Or in your VS Code extension storage.
Once I manually added the missing resource file, I retried the command.

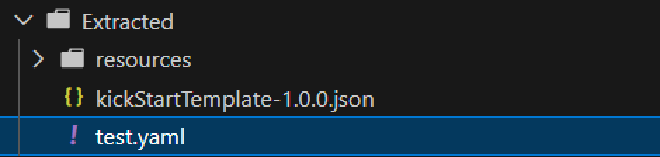
Success! The command finally ran successfully, and I got my files:
kickStartTemplate-1.0.0.jsontest.yaml
Exploring the Extracted Files#
Let’s take a quick look at what we actually got in the extracted folder:
kickStartTemplate-1.0.0.json: This JSON file defines the metadata for your template, such as the name, description, version, and the schema for customization. It basically tells the system “This is a template named X with these properties.”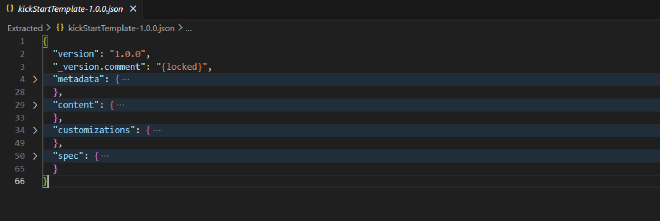
test.yaml: This YAML file is the meat of the agent definition. It contains the topics, entities, and dialog logic. You’ll see things likeBotDefinition,DialogComponent, and the actual conversational flows (e.g., “Greeting”, “Thank you”, “Goodbye”).
A Tip on Versions#
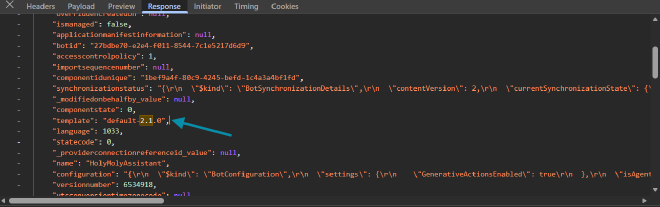
Before running extract-template, it’s crucial to know the correct version of your agent. If your agent is built with a newer version (e.g., 2.1.0) but the extract defaults to 1.0.0, you might accidentally downgrade your agent, causing issues later.
Pro Tip: Use the browser’s Network Inspector to find the actual version. Look for a call to the bots API:
https://org....crm.dynamics.com/api/data/v9.2/bots(...)

In my case, it was 2.1.0.
Step 3: Creating a New Agent (In Solution)#
Now that I have the template, I can create a new agent. This command doesn’t just create files locally; it actually creates the agent directly in the Power Platform Solution.
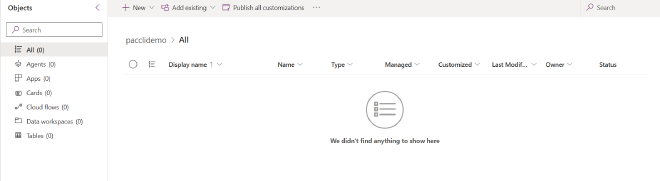
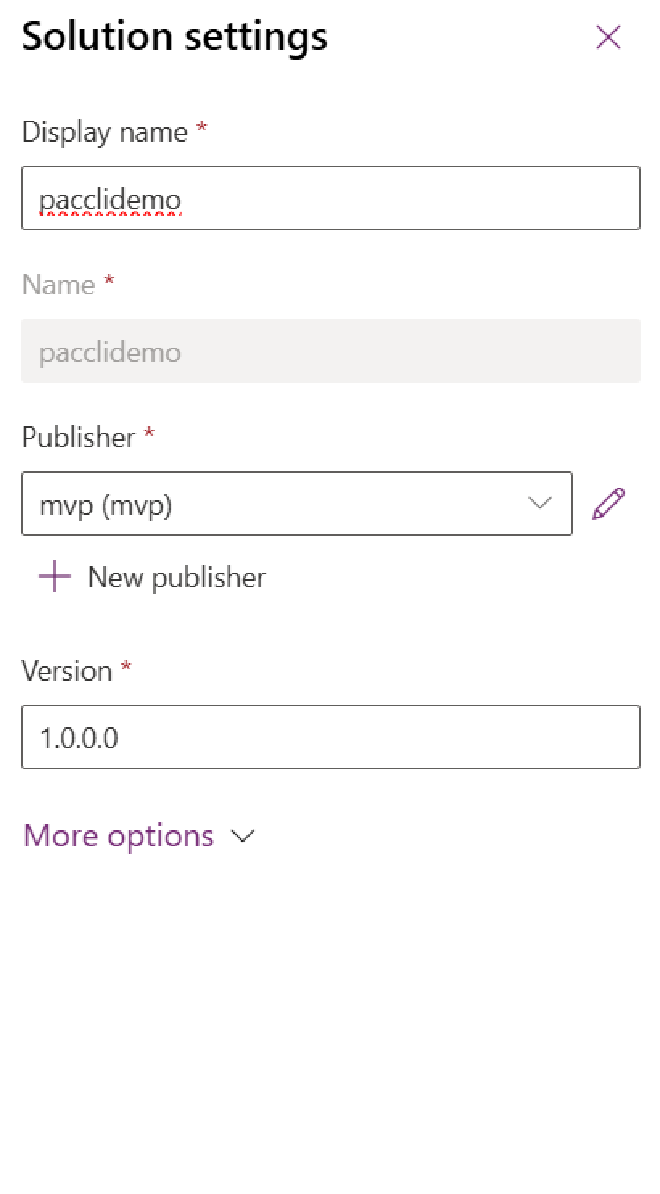
First, I created a new empty solution in Power Platform.
Then, run the create command:
pac copilot create --schemaName agentfrompac --displayName just4test -s pacclidemo --templateFileName "..\Extracted\test.yaml"
The “Prefix” Error#
And… boom. Another error.
Error:
[0x800608ad:ExportKeyAttributeInvalidPrefix] Export key attribute connectionreferencelogicalname ... must start with a valid customization prefix.

The Fix:
It’s actually simple (so sssimple!). The schemaName must include the publisher prefix. The format should be publisherprefix_schemaName.
In my case, my prefix is mvp. So the corrected command is:
pac copilot create --schemaName mvp_agentfrompac --displayName just4test -s pacclidemo --templateFileName "..\Extracted\test.yaml"
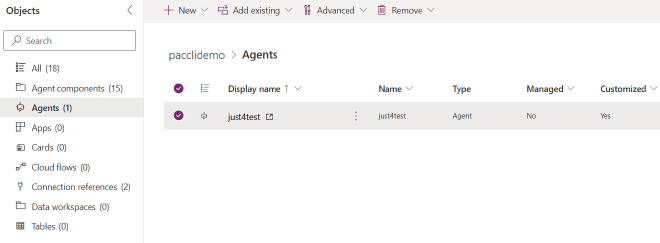
Voila!
The creation succeeded!
Step 4: Publishing (and Finding the Root Cause)#
The next logical step is to publish the agent.
pac copilot publish -id <MyCreatedBotId>
In my case, this failed. The CLI gave me a generic error:
Sorry, the app encountered a non recoverable error and will need to terminate.
Exception Type: System.ArgumentException
And the logs showed:
FTL | bolt.Session :: Invalid response format (Parameter 'rawResponse') | EXCEPTION: System.ArgumentException
Finding the Real Issue:
The logs were a bit generic (System.ArgumentException), so it wasn’t immediately obvious what was wrong.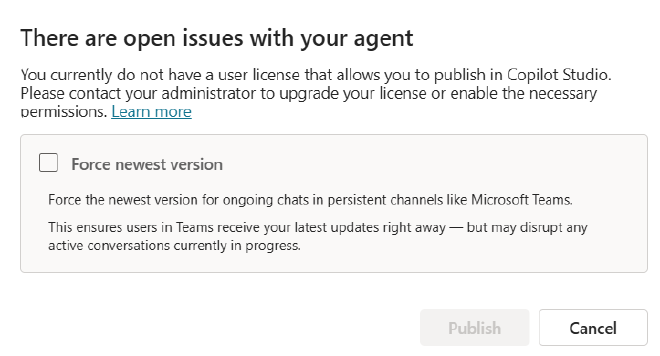
It would be great if the CLI could provide this specific feedback in the future, as it would save some debugging time! For now, if you hit this generic error, checking the web UI is a good workaround to find the details.
Conclusion & Next Steps#
I successfully extracted a template, created a new agent directly in the solution, and navigated through a few publishing hurdles.
One last thing I want to share is how you can manage cloning using the Copilot Studio VS Code extension.
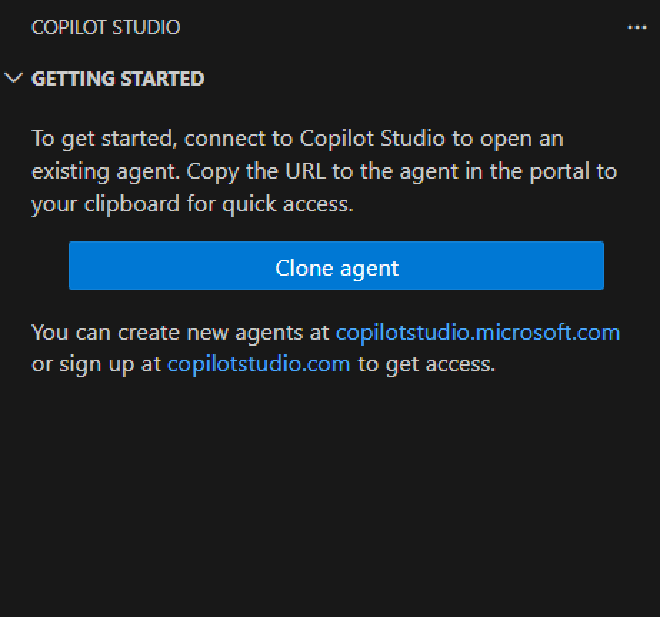
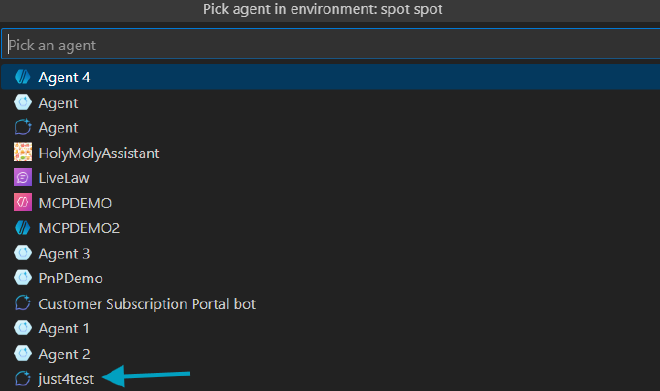
You can select your environment and clone your agent directly.
And there you have it!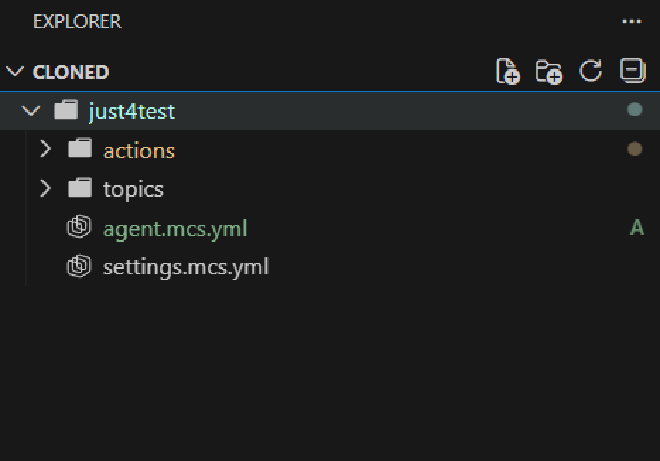
This sets the stage for the next adventure: Using this Copilot Studio extension in a CI/CD pipeline. Stay tuned!
References#
- Official Microsoft PAC CLI (copilot) Documentation - The complete command reference.